How to install liquid cooling in your gaming PC

One of the first questions that arise when you decide to embark on the adventure of assembling a computer for parts is undoubtedly how to install liquid cooling in your gaming pc. When you perform this process for the first time you do not know whether to place it at the top of the inside of the tower, in the front or even in the back. It is also common to wonder how to put that liquid cooling do you want to find out the best way to install it?

Two different configurations: push and pull

In the hardware world, two different configurations are called push and pull totwo different configurations when it comes to placing the fans in liquid cooling. With the push method method, the air will move throughout the tower through the radiator. With the pull method method you will pull the air from the radiator for ventilation.

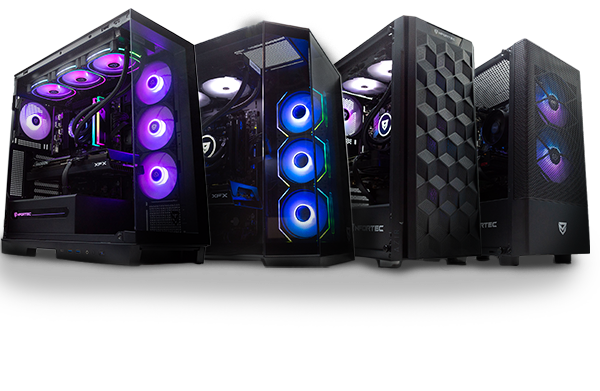
It is recommended to use a case with an open front that allows air circulation, (as it happens with the Krater or Draco V2 tower models) whenever we are going to install the liquid cooling in the front part. In case of using a tower with a closed front, we will choose to install the liquid cooling on the top or rear of the case

It is not recommended to place a 120 mm liquid cooler on the front or top of the case. The optimal place to place this type of cooling is at the rear of your gaming tower

Several possibilities when installing a 240 mm liquid cooler on top

oM2zoym0feEmouHe_oxIiwPYLuw81O0RzL8HqZ8M

If we opt for the liquid cooling installation on the top through the push method we will obtain a high temperature for the rest of our components. Using this configuration for an open front gaming tower, cold air enters through the front, cools the graphics card and exits through the radiator as hot air

mKXpOzp7SEzuk8FwH2i0WZNs1nt3POcsCyHjREye

If we opt for this same installation using the pull method instead of the push method, we find that the graphics card and the processor overheat more. The reason is that the arrangement of the fans in this case reduces the pressure considerably and less hot air can escape, and it accumulates inside.

Options for placing the 240 mm liquid cooler on the front side

If we opt for the installation of the 240 mm liquid cooling in the front through the push method, allowing cold air to enter through the fans and the cold air enters the radiator. Hot air enters the case, as the radiator itself is already hot. This configuration is best for the CPUthe air entering the radiator is cold, and not hot as it was in the top installation. However, the GPU is worse off

CadkbLicPq23YH9opZWWUaSqEnbM45EdKiD_Cg4_

If we decide to to install the liquid cooling in the front via the pull method, the result will be that the GPU will heat up less and the CPU more. As the fans are in a position closer to the graphics card, the air pressure generated is sufficient to transmit the air more optimally to that component

pGAFDsCAhNSmSCl6aQ0fEv7UkwhirF4FWxKX6loT

The best configuration for gaming with a 240 mm liquid cooler

Between these two configurations (push and pull), the pull configuration is better, because we prefer the graphics card to heat up as little as possible. The cooler the graphics card is, the better for long gameplay. The CPU will not be pushed to the limit while we are playing a game. Therefore, the best liquid cooling installation for your gaming PC is the front pull

The best options for the 120 mm installation

The push configuration at the rear of the tower will give us low temperatures for the graphics card. The air movement is greater than with 240 mm liquid cooling, as the radiator is smaller and does not interfere with the generated air. Thanks to the air movement, the temperature of the graphics card will drop, which is an optimal situation for playing video games. On the other hand, the CPU temperature will be very high

cOBrAS8gRXTqT9Cadddc_mZnXfOLyZzfZywSb_7y

The pull configuration at the rear of the tower for 120 mm liquid cooling maintains the same temperature as in the previous case, both on the CPU and GPU.

Therefore, to keep the CPU at a low temperature, it would not be advisable to use a 120 mm liquid cooler 120 mm liquid cooling

Take the leap to 360 mm liquid cooling

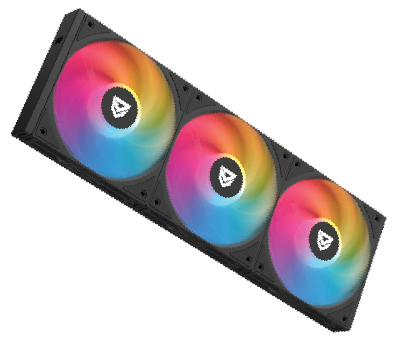
Now the top of the line liquid cooling is available at Nfortec. One of your favorite liquid cooling models in our catalog, Atriais now available in three versions, 120mm, 240mm and the incredible 360mm version, so that your CPU, and the rest of your PC components, can enjoy the best coolness all year long

It is important not to go on an adventure with the 360mm liquid cooling, the most important thing is to make sure that the tower in which you want to install it, accepts the size of these coolers. In our case Aqueronte you have the possibility to install Atria 360 mm not only at the front, but also at the top. The impact of this cooling on your components depending on the installation method, push or pull, or the installation location, will be the same as with 240 mm coolers. The main change is in the amount of air this cooling will move which, in combination with Aqueronte's mesh front end, would be an unbeatable option

Comments (0)

Posts destacados
Product added to wishlist
Product added to compare.